
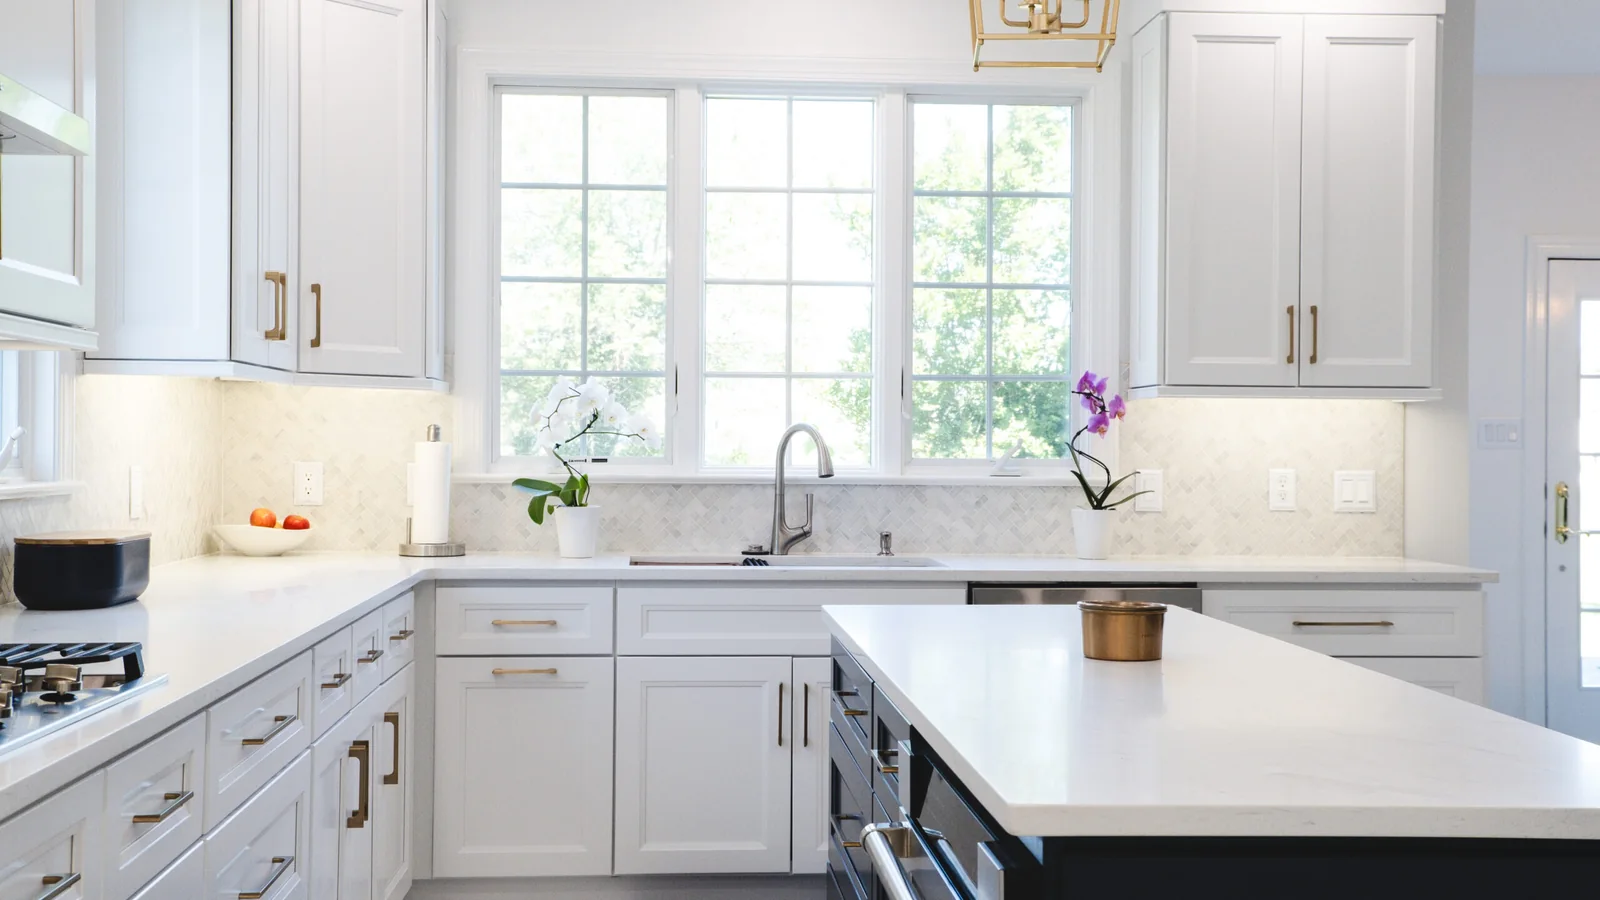
Quick answer: A simple frameless cabinet box uses two full-height sides, a top and bottom fitted between them, a back, and optional shelves. Accurate panel sizes, a flat assembly surface, equal diagonal measurements, and a securely attached back keep the carcass square. Sink, appliance, and wall-hung cabinets need project-specific details.
This guide explains a frameless box with a full top and bottom. It works as a learning model for a small storage cabinet or built-in component. Sink, appliance, and wall-hung cabinets need project-specific hardware, clearances, and installation details.
Choose the cabinet type before making a cut list
A framed cabinet has a face frame attached to its carcass. A frameless cabinet uses the box edges and concealed hardware to form the opening. Review JWQ's guides to frameless cabinets and choosing a cabinet style before choosing your construction and door style.
Also decide whether the cabinet will stand on the floor, sit on a separate base, fit into a built-in, or hang on a wall. These are not interchangeable applications. A wall cabinet requires a suitable mounting design and secure attachment to the building structure.
For a kitchen, use the standard kitchen cabinet sizes and dimensions guide as a starting point. Final dimensions must follow the project drawings and the requirements for appliances, hardware, and the selected cabinet line.
Materials and tools for a simple cabinet box
Cabinet-grade plywood is a common choice because it is stable and comes with finished or paint-grade faces. Three-quarter-inch material is often used for the carcass, while thinner material may be used for a back. The correct material still depends on the load, span, joints, finish, and installation method.
Measure the panel with calipers or an accurate rule. A sheet sold as 3/4 inch may not measure exactly 0.750 inch. That difference matters when calculating parts, cutting grooves, or setting a pocket-hole jig.
A basic tool list includes:
- Tape measure, combination square, and pencil
- Circular saw with a straightedge guide or a properly set table saw
- Drill/driver and bits suited to the chosen fasteners
- Clamps and a flat assembly surface
- Wood glue compatible with the materials and finish
- Sanding tools and edge banding or solid edging, if needed
- Eye and hearing protection plus effective dust collection
Cutting sheet goods creates machine and dust hazards. Keep guards in place, support panels throughout the cut, follow the tool manufacturer's instructions, and do not attempt a cut you cannot control. OSHA's woodworking machinery requirements and wood-dust guidance describe hazards that professional shops must control.
How to calculate a simple cabinet box cut list
Start with the desired outside width (W), outside height (H), outside depth (D), and measured material thickness (T). For a box with the top and bottom fitted between two full-height sides:
- Two sides: H × D
- Top and bottom: (W − 2T) × D
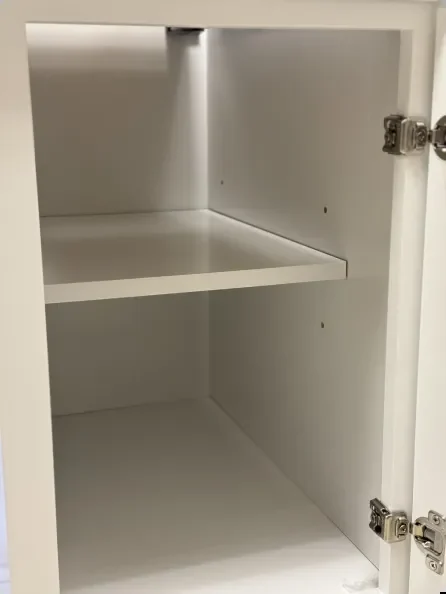
- Adjustable shelf: slightly narrower than the clear inside width and shallower than the inside depth
- Back: sized for the chosen overlay, rabbet, or groove method
For example, if the outside width is 30 inches and the material measures exactly 3/4 inch, the top and bottom are 28 1/2 inches wide. If the material measures differently, recalculate from the actual thickness.
Do not copy a generic cut list for a sink base, drawer cabinet, or built-in. Toe kicks, face frames, door overlays, drawer slides, plumbing, appliance clearances, and wall conditions can change both the parts and their dimensions.
How to build a simple cabinet box step by step
1. Draw the box and confirm every dimension
Sketch the front, side, and back. Mark which panels run full height and which fit between them. Add the back method, shelf positions, front edge treatment, and hardware. This small drawing prevents two parts from being sized for different assembly methods.
2. Cut and label the panels
Break the sheet into manageable sections, then make the final cuts with a reliable fence or straightedge. Label each part and mark its front, top, and best face. Pair the side panels and trim them together when possible so their dimensions match.
Check that opposite edges are parallel. A rectangular panel with one tapered edge can force the entire box out of square.
3. Complete interior machining first
Drill shelf-pin holes, cut any back grooves, and mark hinge or slide locations before assembly. It is easier to work on a flat panel than inside a finished cabinet. Use the hardware manufacturer's template and required clearances rather than estimating.
4. Dry-fit the cabinet box
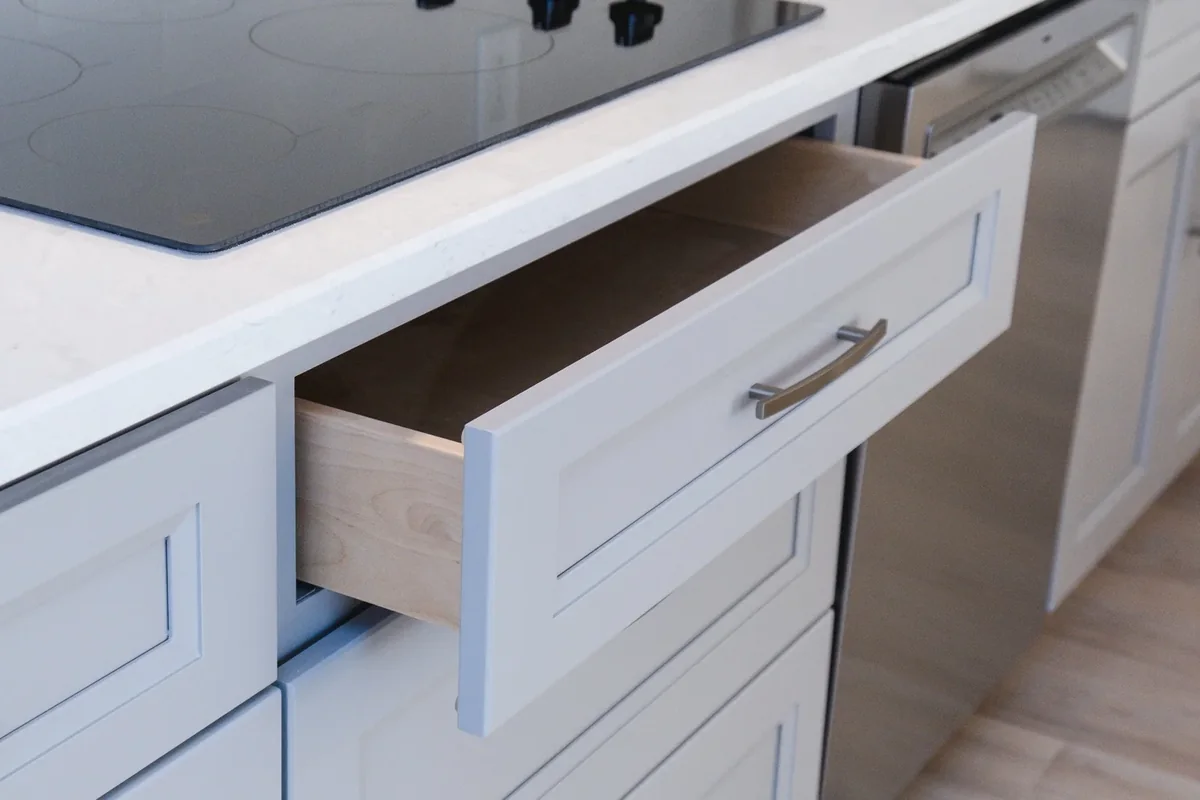
Assemble the parts without glue. Confirm that the top and bottom fit between the sides, the front edges are flush, and the back method works as drawn. Measure the outside width and height before committing to the joints.
5. Join the sides, top, and bottom
Apply glue where the product and surface allow it, clamp the joint, then install pocket screws, confirmat-style fasteners, dowels, or another suitable cabinet joint. Predrill when required to avoid splitting or displacing the panels.
Work on a flat surface and keep the front edges aligned. Tighten fasteners evenly. Driving one joint hard before the opposite side is positioned can twist the box.
6. Square the assembly
Measure diagonally from corner to corner in both directions. Equal diagonal measurements indicate a square rectangle. Adjust the clamps until the measurements match and verify the corners with a reliable square.
Do this before attaching the back. The back helps resist racking, so fastening it to an out-of-square box can lock the error in place.
7. Fit and attach the back
Install the back using the overlay, rabbet, or groove shown in the plan. Keep the cabinet square while fastening from one corner across the panel. A thin back can stabilize the carcass, but it is not automatically a structural hanging system. Wall-mounted cabinets need a mounting method designed for the cabinet, its load, and the wall construction.
8. Add shelves and finish the front edges
Install fixed or adjustable shelves with the specified clearance. Cover exposed plywood edges with edge banding, a face frame, or solid-wood edging. Sand only as much as the finish system allows; aggressive sanding can cut through a thin veneer.
9. Test before installation
Set the cabinet on a level surface and confirm:
- The box does not rock or rack
- The opening remains square
- Shelves sit level and engage their supports
- Doors or drawers have consistent clearances
- Hardware operates without binding
- The back and mounting components match the intended installation
The KCMA A161.1 performance and construction standard shows that finished kitchen and vanity cabinets are evaluated as systems for structural, door, drawer, and finish performance. A square DIY box is a good start, but it is not the same as independently verified cabinet performance.
When building a cabinet box makes sense
A DIY cabinet box can be practical for a one-off workshop cabinet, utility storage, or a built-in with unusual dimensions. It also teaches how material thickness, joinery, and squareness affect the result.
In a full kitchen, small variations multiply across a run of cabinets. Consistent sizing, durable finishes, compatible hardware, and coordinated installation may matter more than the cost of one box. Homeowners can browse JWQ cabinet collections and find a local dealer before deciding whether to build or buy.
Frequently asked questions
What is the easiest cabinet box for a beginner to build?
A small frameless storage box with two sides, a full top and bottom, an applied back, and one adjustable shelf is a manageable starting point. Avoid sink, appliance, and wall-hung cabinets until you understand their additional requirements.
What thickness plywood should I use for a cabinet box?
Three-quarter-inch cabinet-grade plywood is common for cabinet sides and shelves, but it is not a universal rule. Verify the actual thickness and choose material based on the span, load, joinery, finish, and installation method.
How do I keep a cabinet box square during assembly?
Assemble it on a flat surface, align the front edges, check the corners, and compare both diagonal measurements. Adjust the clamps until the diagonals match, then attach the back while the box remains square.
Sources
- OSHA, woodworking machinery requirements
- OSHA, wood-dust hazards and controls
- KCMA, A161.1-2022 performance and construction standard
These sources support the general safety and performance context. They do not replace current project drawings, hardware instructions, or JWQ product specifications.